I just finished a project that involved video processing in a portable, wirelessly connected, package: a perfect opportunity to get to know the newer Raspberry Pi Zero W. Here I’ll go over a few lessons learned while making this little computer truly mobile. The main point of interest is power: power (as in applied voltage), power (as in juice), and power (as in processing power).
Power: Go 5V or Go Home
If only the Raspberry Pi would run on 3.3V it would be a simple matter of sticking an LDO between the battery and the computer. As it stands, the first–and only major–obstacle to powering a raspberry pi from a battery is getting access to 5V.
Really, the circuitry itself is not a big deal but it does mean using some switching magic to generate the required 5 Volts. There are a zillion solutions for this, but if you follow the directions here or here, you’ll get a battery-powered Pi in no time.
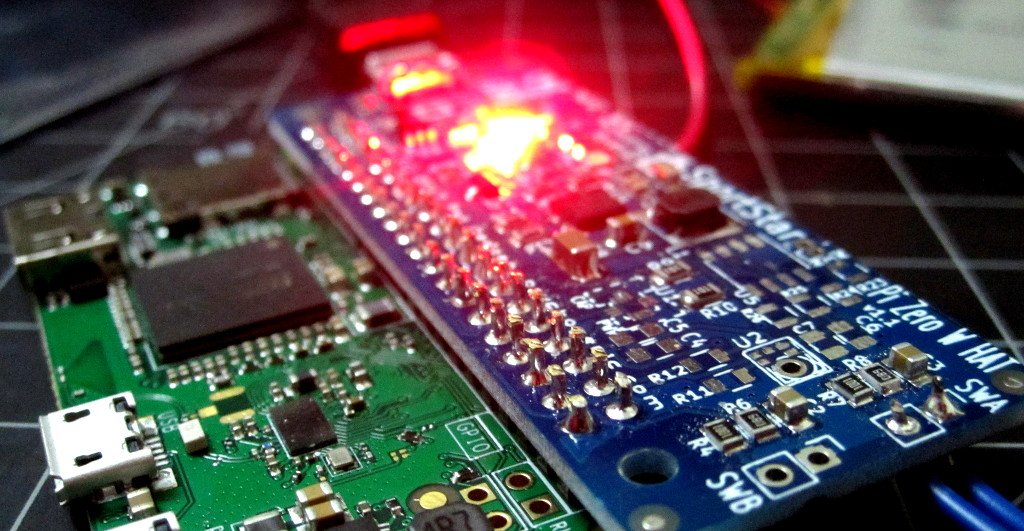
In this case, I rolled my own HAT (extension board) because we wanted extra functionality (USB charging, battery monitoring, software controlled shutdown, user indicators/buttons and other things). Here’s a view of a development version (detachable extension PCB) and a wearable, assembled using the minimum viable components and Raspberry Pi Zero W boards:
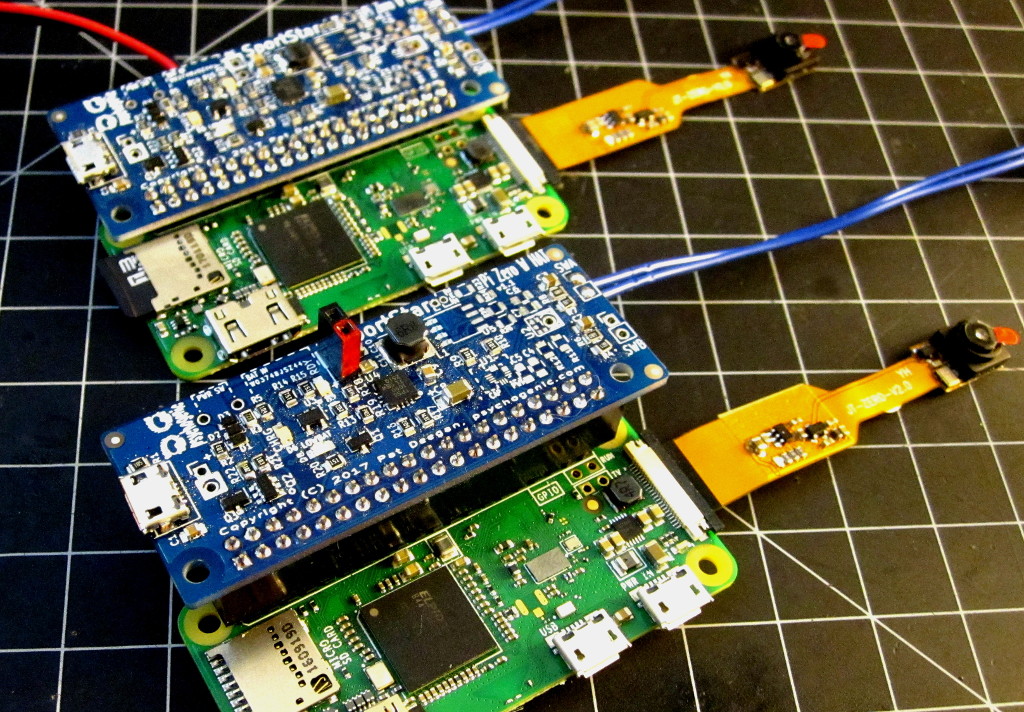
Pi Zero W HAT extension boards and video camera
Power: Juice
I’m more accustomed to running on microcontrollers, which are made to put into deep sleep and aren’t all that power hungry to begin with. In the case of the Pi, it’s a different story. These are full fledged computers and their diet is higher in electrons.
Since our pesky physical universe simply refuses to give us anything for free, when you’re boosting the voltage from your lithium battery up to 5V, things get worse as the battery discharges. My initial tests were done at two voltage levels: around 4V and down only half a volt to 3.5V. I was particularly interested in streaming video and processing it so (rounded up, for worst case) I got these results:
| 4V | 3.5V | |
| idle | 155mA | 185mA |
| processing | 260mA | 300mA |
| recording | 385mA | 440mA |
| both rec+proc | 500mA | 590mA |
As you can see, as the voltage drops consumption increases meaning that the lower your battery gets, the quicker it will discharge. The fact is that these tests were actually optimistic, since I’d also be using WiFi. When transferring data over the wireless connection, as well as recording video and processing it, it could actually shoot past 700mA.
Still, with judicious use of resources and a nice 2000 mAh battery, I played with the module all day without it dying on me. In fact, while being mostly idle, I powered a full Raspberry Pi 3 board, with a video camera, using a tiny 680mAh battery for about 2 hours. You can see it boot and run, with a back-lit USB keyboard attached, here:
Power: Crunching
One mistake I made during development was underestimating the stark difference between the processing power available on the Pi Zero as compared to the Pi 3… seems the extra 3 cores really count for a lot.
As I was compiling dependencies and working on the system, I did most of the preliminary development on the Pi 3… It’s pretty sweet to be able and issue a “make -j 4” and see things fly by on these tiny devices. However, I was doing lots of video processing. On the Pi 3: no probs… I was crunching through 30 or more frames per second.
When I moved the SD card over to the Pi Zero W, I had to recompile some kernel modules, as I discovered it seemed to be dynamically selecting the kernel based on the processor, but pretty much everything seemed to work fine.
Then I noticed the performance hit… my video processing fell to a lowly 1-1.5 frames per second. Suddenly, handling 30 seconds worth of video was going to take on the order of 10 minutes… uhm, ouch. Not gonna work out.
I spent a good while figuring out how to re-work the system to get around this, and in the end managed to work back up to almost 30fps but the only solution I found was algorithmic: I never managed to squeeze much more out of the CPU. Short version: though the Pi Zero is a small wonder, and it feels like you’re on a regular Linux desktop while you’re on the command line, it ain’t magic… you pay for the reduced size and power usage in processing strength.
Miscellaneous Notes
Boot
The system I used lets you power the Pi using a momentary contact switch. Once it’s booted up, the GPIO will hold the power on until your software decides otherwise. That’s pretty cool.
However, I had a whole lotta stuff running on the raspberry pi zero: a wifi access point with DHCP, a webserver, the video recording and processing, the GPIO management and interrupt driven inputs, etc. That’s sweet, but if you don’t order your start-up sequence correctly, you’re going to be holding that button for a long time before you can let it go.
Even with a lean sequence, it can take 10+ seconds before you can tell your user they can let go of the MOM switch… maybe I’ll go another route next time.
Heat
Though some like it hot, the Pi… not so much. If you’ll be doing intense processing, the chip will get relatively hot. Maybe not start-a-fire hot, but hot enough that it will start throttling itself to cool off, meaning whatever you were doing is going to take more time, meaning your battery (if you went the portable route) is going to pay the price. Solution: allow some air through any enclosure and use a heatsink if possible.
And that’s pretty much it. It was really fun designing for these little machines, and coding kernel modules and python scripts was a nice break too. Next step is to play with the included bluetooth… can’t wait!