I have an ongoing project that requires a controllable rotating platter and, in order to get sufficient torque and control, I’ve been playing with servo motors to get this working (which is how I fried my faithful little power supply, and wound up needing to construct a new bench supply).
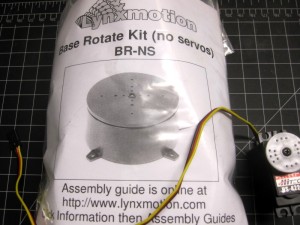
To let the small servo rotate a larger platter, I needed some sort of mechanical assembly to tie everything together. Lynxmotion (a robotshop-related company) has created a number of cool servo-related products and their Base Rotate Kit was a perfect fit for my requirements.
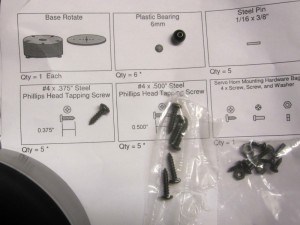
The kit–comprised of all plastic parts but for the screws,bolts and bearing pins–comes with a base that can be attached using four tapping screws, a rotating platter and all the parts required to tie everything together (more than enough, in fact… there are a few extras included, just in case). You’ll have to bring your own servo to the party and also need some sand paper and 3-in-1 oil if you want smooth operation and to reduce squeaking noises (it’s “3-in-1” because it “cleans, lubricates and protects” according to marketing copy–basically some kind of lube).
The assembly guide is on their site, and is easy to follow… when you find it. It’s in Information -> Assembly Guides -> Miscellaneous Mechanical -> Base Rotates/BR-KT Information.
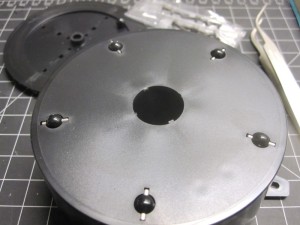
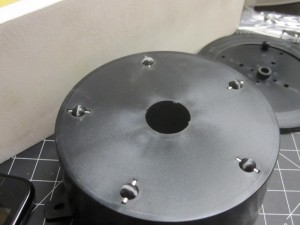
The hardest part, at least when you are afflicted by fat finger syndrome as I am, is getting to little pins into the bearings and keeping them there as you place a pair in each groove. Once that’s done, small circular motions on sandpaper will eliminate any imperfections on the bearings. They had a tendency to fall out when flipping the base over but, since I didn’t have any sandpaper and was using a waterstone, I just left it upright and the sanding process went nicely. The result is bearings with particulate residue along their diameter at the contact point, which should be cleaned off.
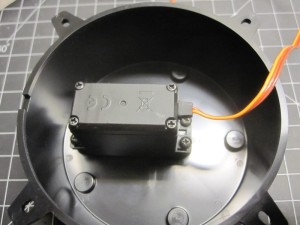
After removing the horn from your servo, flip over the base, making sure the bearings don’t all roll away. The inside has mounts to hold the servo at the top of the base, which fit standard Hitec servos and any compatibles (I tried another random servo I had lying around and it fit nicely). They tell you to secure it tightly (using the smaller tapping screws), but don’t overdo it as the plastic starts melting at some point.
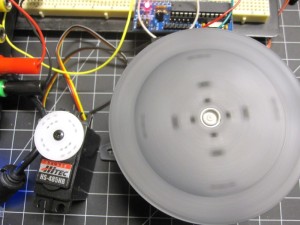
Finally, ensuring all the bearing are ok, you just need to push the platter onto the servo and use the screw that was holding the horn to lock it into place.
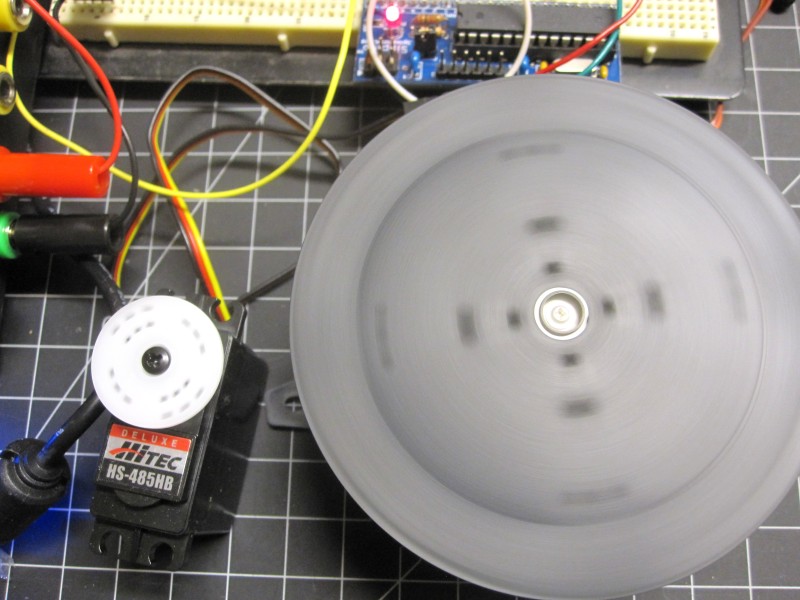
In all, the process took less than 10 minutes and by the end I can a neat controllable platter, which I tested using a sippino (which I’ve reviewed here) and a slightly modified version of the Arduino Servo -> Sweep example. Nice!
Extra parts left over are usually a bad sign, but in this case the document clearly states that they’re “for our convenience” and I appreciated the inclusion of a bunch of tiny screws/bolts for use with servo horns.
The real test will be how it performs within my project, but the trial runs I’ve done seem to indicate that the base has more than enough tolerance for load–the servo won’t have enough torque to rotate a heavy object long before the base’s load bearing abilities come into play. All in all, I’m quite satisfied by the assembly.
