I do a lot of work with bluetooth low energy (BLE or bluetooth v4.0) and have a few different BLE modules I’ll turn to, but often end up using the Bluegiga BLE112 (as evidenced by my DIY BLE112 breakout). It’s a great chip but one thing that can get annoying is programming the thing.
Whether you’re running code on the on-board 8051 microcontroller or just setting up the GATT, you eventually need to connect to the BLE112 using a TI CC debugger and that means having some way to tying the 10-pin connector to the correct pads on the chip.
The usual approach here is to include a 10-pin header on your PCB. However, even when using the small 2×5 1.27mm connector, this takes up space on your circuit board and involves routing a header that will normally only be used a few times (at least on production boards).
I wanted a way to sidestep all of that, in order to keep certain PCBs down to the strict minimum size–both in terms of area and (and sometimes more importantly) height! Having a header sticking out is unacceptable in some instances, and soldering it on and off just to program the BLE112 is a real pain. My solution: the BLE112 In-system programmer.
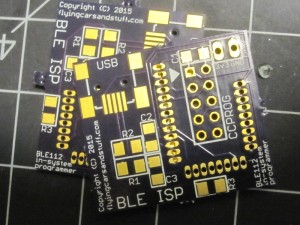
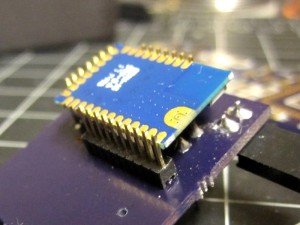
The BLE112 ISP is a small PCB with a header for the CC debugger on one side. On the other, three series of pins are aligned such that they wrap around the chip.
While I was at it, I also included support for USB connections (though, as of this writing, I’ve yet to test it). The important thing is that thanks to the BLE-ISP, it is possible to connect the CC debugger to the BLE112 without a header.
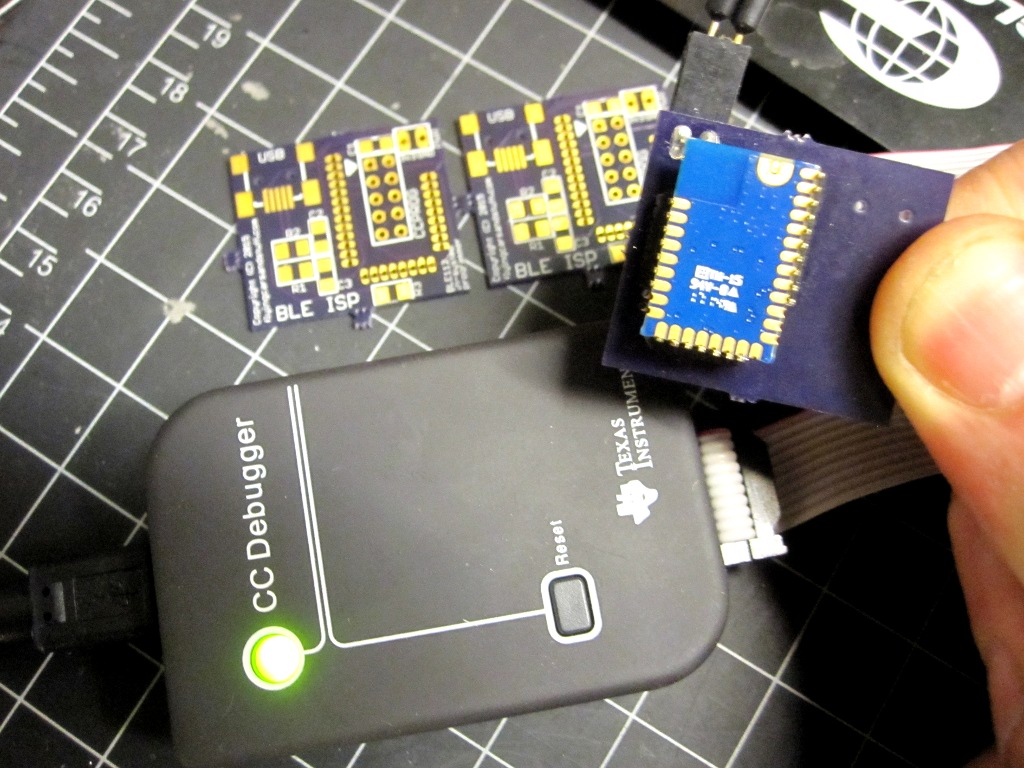
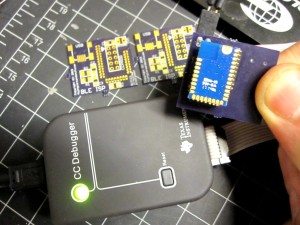
This can be done completely “stand-alone” by placing the BLE112 snugly within the headers on the underside
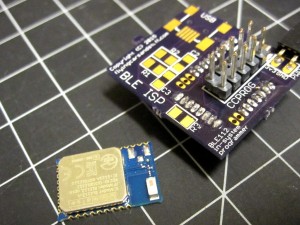
and then connecting the debugger. In this case, a source of 3.3V power must be provided. This can be done using the power header on the PCB, show here above and to the left of the blue BLE112:
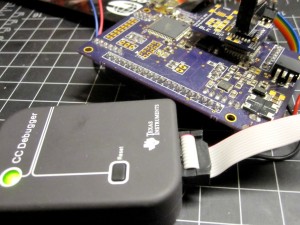
Though you have to be gentle and careful when placing the BLE ISP (and as long as you haven’t exaggerated with the amount of solder when affixing the BLE112 to a PCB), the programmer can also be connected in-circuit:
So from now on: no more headers. Pretty cool!
I’ve got a few of these on-hand… get in touch if you want one :)
